
Slippery tile floors aren’t just a nuisance, they can be downright dangerous.
If you’re struggling with slick tile floors, and you want to make them less slippery, you’ve come to the right place.
In this guide, I present you with six different ways to make your tile floors less slippery and safe for the whole family.
You’ll learn the pros and cons of each method so you can decide which is best for your home.
The Short Answer
In this guide, I explain the pros and cons of six different ways to make tile floors less slippery. But if you only have a minute, here’s the short answer:
The easiest way to make tile floor less slippery is to add traction with an area rug, foam flooring, or anti-slip adhesive treads. These options are inexpensive and easy to install, but they alter the look of your floor.
The best way to make tile floor less slippery is to apply an anti-slip formula. These formulas alter the tile’s surface on a microscopic level, making it slip-resistant without changing the appearance.
If you’re up for a major project, you can install a floating floor or demolish the current tiles and install special non-slip tiles. However, these options are costly, labor-intensive, and permanent.
Use the links below to navigate:
- How to Make a Tile Floor Less Slippery: The Short Answer
- Method 1: Use Rugs or Carpet Runners
- Method 2: Install Foam Flooring on Top of the Tile
- Method 3: Use Anti-Slip Adhesive Treads
- Method 4: Apply an Anti-Slip Formula
- Method 5: Install a Floating Floor Over the Tile
- Method 6: Install Non-Slip Tile
- Final Thoughts
Method 1: Use Rugs or Carpet Runners
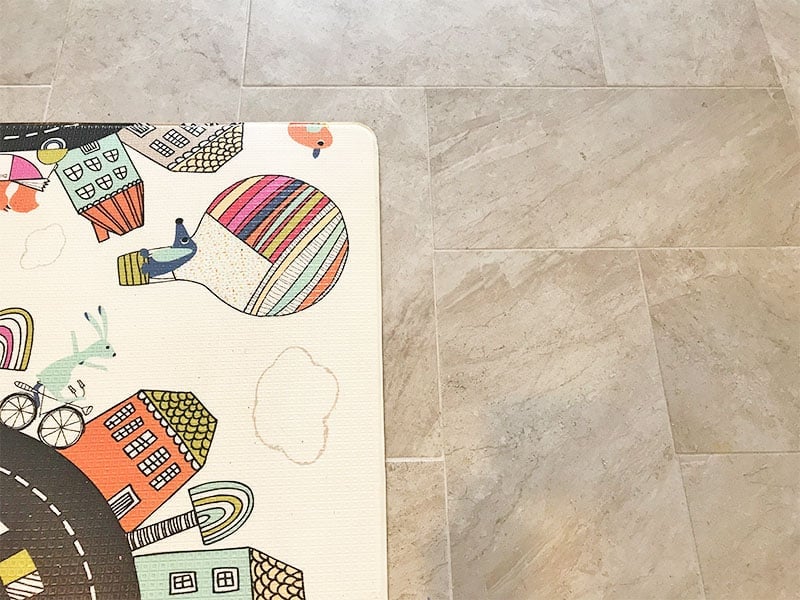
One of the simplest ways to make your tile floor less slippery is to place area rugs or carpet runners over the tile. I’m highlighting this method first because it’s the one that takes the least amount of effort.
This solution is ideal for sections of the floor near sinks, entryways, hallways, bottom of stairs, and large open rooms.

It’s easy to present rugs and carpet runners as intentional design choices, as well.
Small carpets and rugs are inexpensive, easy to clean, and can be found in just about any style imaginable. A quick search on Amazon or Walmart.com reveals dozens of options and something for every budget.
The main issues you may encounter when using this method are the limited coverage presented by rugs and the potential need for an adhesive, such as double-sided tape or plastic matting, to avoid fabric slippage once the rug or runner is in place.
It’s not feasible to cover the entire tile floor with area rugs and carpet runners; therefore, this doesn’t completely solve the problem. However, if there’s one small area of your tile floor that gets especially slippery, this is a quick and inexpensive solution.
Method 2: Install Foam Flooring on Top of the Tile
Foam flooring and mats are an excellent solution for tiled rooms with a more utilitarian purpose, such as home gyms, playrooms, mudrooms, or workshops.
Installing foam flooring is easy, relatively cheap, and a project that you can do in under an hour. All you have to do is lay out the pieces on the floor and fit the interlocking grooves together like a puzzle.
Foam flooring is durable, moisture-resistant, and easy to clean; just wipe it with soap and water. The best part is that it instantly adds non-slip traction to your tile floors.
This kind of flooring comes in various colors, patterns, and sizes, with the most popular measurements being 12×12 inches, 18×18 inches, or 24×24 inches. It also comes in varying levels of thickness, from a half-inch to two inches.
For example, this set by BalanceFrom, which is one of the most popular options on Amazon, comes in black, blue, and gray and in thicknesses of a half-inch, three-quarters of an inch, and one inch.
If you spend a little extra time and money, you can find foam flooring in a design that perfectly matches your home’s interior. For example, there’s foam flooring that looks like wood and other options with bright colors and fun designs, ideal for a playroom.
The downside to this method is the fact that foam flooring will always look like foam flooring — it completely changes the appearance of a room once it’s installed. It’s not ideal for public-facing rooms like dining rooms, living rooms, kitchens, and bathrooms.
Additionally, crumbs and other small debris can get stuck down in the cracks, making it a bit of a pain to clean.
Lastly, this solution solves for the slipperiness of the tile, but it creates another hazard. If you’re not paying attention, you can trip over the edge of the foam.
Bottom line — covering slippery tile with foam flooring is a simple way to make your floors safer, but it’s not the most attractive decor and not something you’d want to use in every room.
Method 3: Use Anti-Slip Adhesive Treads
Adhesive treads are a common, functional solution to slippery tile floors, and they are especially useful for stairs or smaller surface areas.
As the name suggests, these simple products add anti-slip traction to your tile floor, similar to grip tape on a skateboard.
Anti-slip treads can be purchased in shades ranging from transparent to black and come in different lengths and widths.
The steps for installing adhesive treads are straightforward:
- Thoroughly clean the floor where you plan to apply the treads.
- Let the floor dry completely.
- Remove the film from the back of the strip.
- Firmly press the strip onto the flooring to stick. Only apply it to the tile, not across the grout. Dirt will collect in the space between the tile and grout, causing the tread to peel. You may need to cut the treads if you have small tiles.
It’s vital to test anti-slip treads in a less noticeable area before applying them to your floors. By doing this, you can make sure that they adhere properly to your floor and don’t cause any lasting damage to your floors’ surfaces.
If done right, anti-slip adhesive threads are a simple and effective way to add traction to floors without totally covering the tile or altering the room’s look.
Despite the simple application process and relatively low cost, adhesive threads come with some downsides.
Here’s what you need to know before committing to this method.
Although adhesive treads, especially the transparent ones, blend in with the floor, they aren’t invisible. When you apply them to the floor, air can get trapped underneath, resulting in unsightly air bubbles.
Similarly, if you don’t remove every speck of dirt before applying adhesive treads, they won’t lay completely flat and, if there’s enough dirt, they’ll peel.
They can be challenging to clean around and may attract dirt or pet hair over time. You should only use adhesive treads on smooth surfaces; they won’t stick to uneven tile floors.
Anti-slip treads can leave a sticky residue behind once they’re removed, but this should be easy to get rid of with warm, soapy water and some elbow grease. Some treads come with a scraper to help with the removal process, which can be quite handy.
Bottom line — anti-slip adhesive threads are a reliable way to make tile floors less slippery. They’re cheap, easy to apply, and don’t alter the appearance of the floor drastically. The best ones are Eden Products Anti Slip Strips (view on Amazon). Besides tile, they also work on wood, plastic, metal, and pretty much any hard surface.
Method 4: Apply an Anti-Slip Formula
If you want to make your tile floors less slippery but don’t want to alter their look, consider applying an anti-slip formula.
These acid-etching formulas work by establishing “micro-treads” on the surface of mineral-based tile flooring. In other words, they microscopically corrode the surface, creating a profile that makes the surface less slippery when wet.
If you use the formula correctly and according to the manufacturer’s instructions, it won’t change the tile’s appearance. But if you leave the formula on the tile for too long, it can damage and dull the tile’s sheen.
Below are the steps for applying an anti-slip formula to tile floors (always follow the instructions for the specific product you use):
- Clean the tile thoroughly and allow it to dry.
- Test the formula on an inconspicuous area.
- Every 30 seconds, slide a rubber-soled shoe across the surface to test the traction. Make a note of how long it took to achieve the desired traction; it typically takes between five and fifteen minutes. The longer it sits, the more traction you’ll get.
- As soon as you achieve the desired traction, neutralize the area by removing the formula with a mix of one gallon of water and two tablespoons of baking soda.
- Apply the anti-slip formula to the rest of the floor with a tank sprayer.
- Use the results from the test area to determine how long the formula should rest on the tile. Do not let the formula dry on the tile.
- As soon as the floor reaches the desired level of traction (between five and fifteen minutes), neutralize the formula with the water and baking soda mixture and thoroughly clean the floors.
You can maintain your slip-free tile floor by regularly brushing the surface with a stiff-bristled scrubbing implement and “agitating” the microscopic treads, which will increase the traction they provide.
Applying an anti-slip formula is relatively simple and very effective, but it comes with two downsides.
First, it’s a more laborious process than laying down carpet, foam floors, or adhesive treads. It requires some attention to detail and at least a couple of hours when you factor in the prep, application, and cleanup.
Second, anti-slip formulas contain harsh chemicals that work by corroding your tiles. While it’s designed to create microscopic treads, there’s a risk that you could ruin your tiles if you don’t apply it correctly.
If you read reviews on Amazon, you’ll see that some homeowners report that anti-slip solutions remove the sheen from their tile and dull the shine. That is why following the directions carefully and testing on a small, less-visible area of your floor before applying it to the whole surface is critical.
Bottom line — anti-slip formulas are an inexpensive way to make tile floors less slippery without altering their appearance (if applied correctly). There are several options on the market, but one of the most popular and highest-rated is the Slip Doctor’s anti-slip formula (available on Amazon).
Method 5: Install a Floating Floor Over the Tile
If you’re not too particular about the specific “look” of tile flooring, you can install a floating wood floor over it to reduce slippage.
You can purchase real wood flooring or laminate, depending on your budget and preferences.
Installing a floating floor is a more labor-intensive method than the others and will require some planning, but many homeowners feel that it is the most aesthetically pleasing choice.
The downside of floating floors is their difficult installation process and the potential damage to the underlying tile. If you plan to go back to your tile floors at some point, this probably isn’t the best option.
When installing floating floors, make sure the surface below is completely smooth and free of damage. Otherwise, you may find that the flooring shifts or moves out of place over time. Also, make sure there’s enough clearance for doors.
Bottom line — if you are up for a major change, installing a floating wood or laminate on top of the tile is an effective way to eliminate slippery tile flooring.
Method 6: Install Non-Slip Tile
Another way to make your tile floors less slippery is to replace the floor entirely with non-slip tile.
Installing non-slip tile is by far the most labor-intensive option, but it’s also the only one that can preserve the look and feel of tile without the requisite issue of slippage.
Some tiles, such as stone, are naturally non-slip due to their textured surface, while others are specifically designed to be slip-resistant.

Installing non-slip tile requires a complete redo of your current flooring. Because of this method’s expense and effort, it’s best for use in new construction projects or home renovations.
Final Thoughts
These six methods each present an effective way to reduce the slippage you experience with tile floors.
The first four options — rugs/carpet runners, foam flooring, anti-slip adhesive treads, and anti-slip chemical formulas — are relatively inexpensive and reversible.
However, rugs, foam floors, and treads can dramatically impact a room’s look, and anti-slip formulas can alter the tile’s appearance if misapplied.
The other two methods — floating floors and non-slip tile — are lasting and represent much more labor-intensive solutions to slippery tile floors.
These options are more or less permanent (especially the non-slip tile) and require you to resurface your floors completely. Therefore, these options are ideal for homes undergoing a redesign or renovation.
It’s essential to consider the overall look of your home and where the slippery tiles are most dangerous. Make sure you carefully weigh each option’s pros and consequences before committing — some of them can’t be undone.
Have you tried any of these methods to make your tile floors less slippery and your home safer? If yes, what have you tried, and would you recommend it to others? Leave us a comment below and help fellow homeowners keep their families and pets safe.
Related Topics
- How to Make Hardwood Stairs Less Slippery: 4 Simple Methods
- How to Make a Shower Floor Less Slippery: 4 Simple Methods
- How to Fix a Cracked or Chipped Porcelain Sink (8 Easy Steps)
- How Long Does Grout Take to Dry? (With Real Examples)
- How to Deep Clean Tile Floors: 6 Simple Steps
- The Ultimate House Cleaning Checklist (Printable)
- How to Deep Clean Hardwood Floors: 5 Simple Steps
- Bona Hardwood Floor Cleaner (The Ultimate Review)
- Bona Spray Mop Review: Pros and Cons to Know Before Buying
